


Photo by Hiroshi Kimura on Unsplash
Setting up your SMTP Server with Mailjet
A guide to set up your Mailjet SMTP server in django


Hello there 👋. In this article, I'll be walking you through on
- creating your mailjet account
- creating the SMTP server on mailjet
- installing the django-mailjet package
- connecting it to your django app
Though this article is gonna be focusing on Django as the backend, the same process should apply to whatever backend framework you wish to use. You'll just have to check if there's a package for mailjet that works with your framework
NB: You'll need to have knowledge of Django or whatever backend framework you use. We are simply replacing the default SMTP server provided in django with a better option. And yes, it's free! 😙
Creating your Mailjet Account
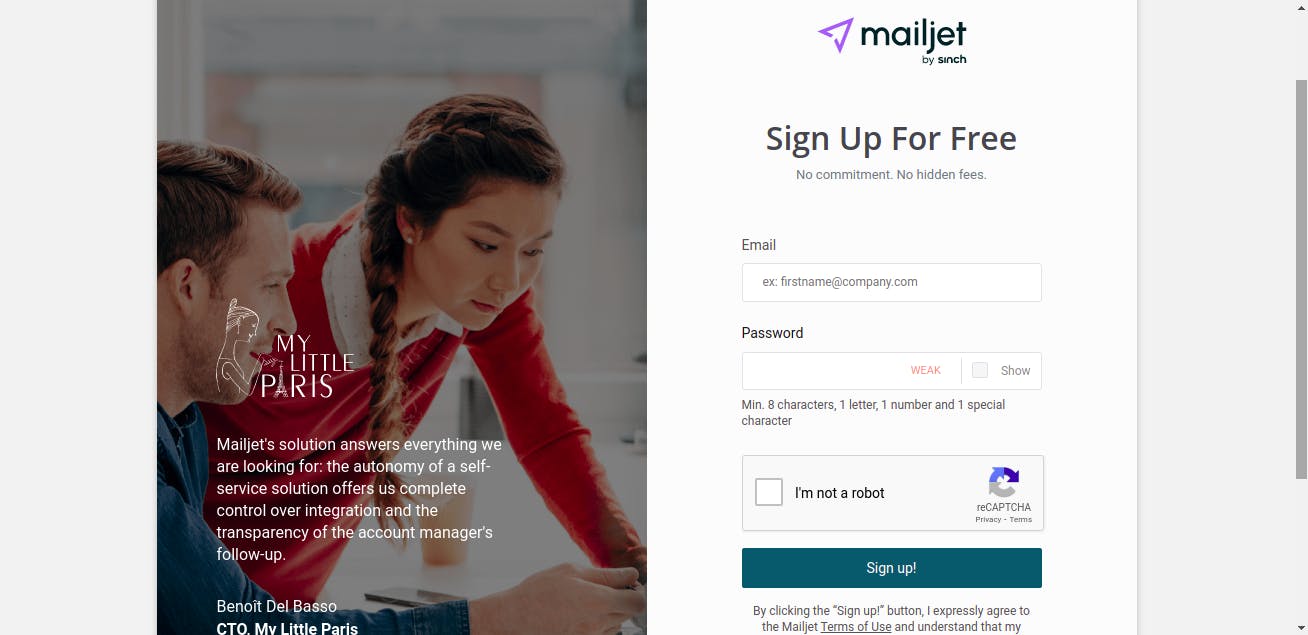
Click on this link and let's get started. That should lead you to the page below. Enter your email address and password, then click on sign up.
That takes up to the page below. If you are currently unemployed or a student, you can fill in Organization name with your name, Organization URL with a link to your portfolio or blog. Then select Other under Main industry

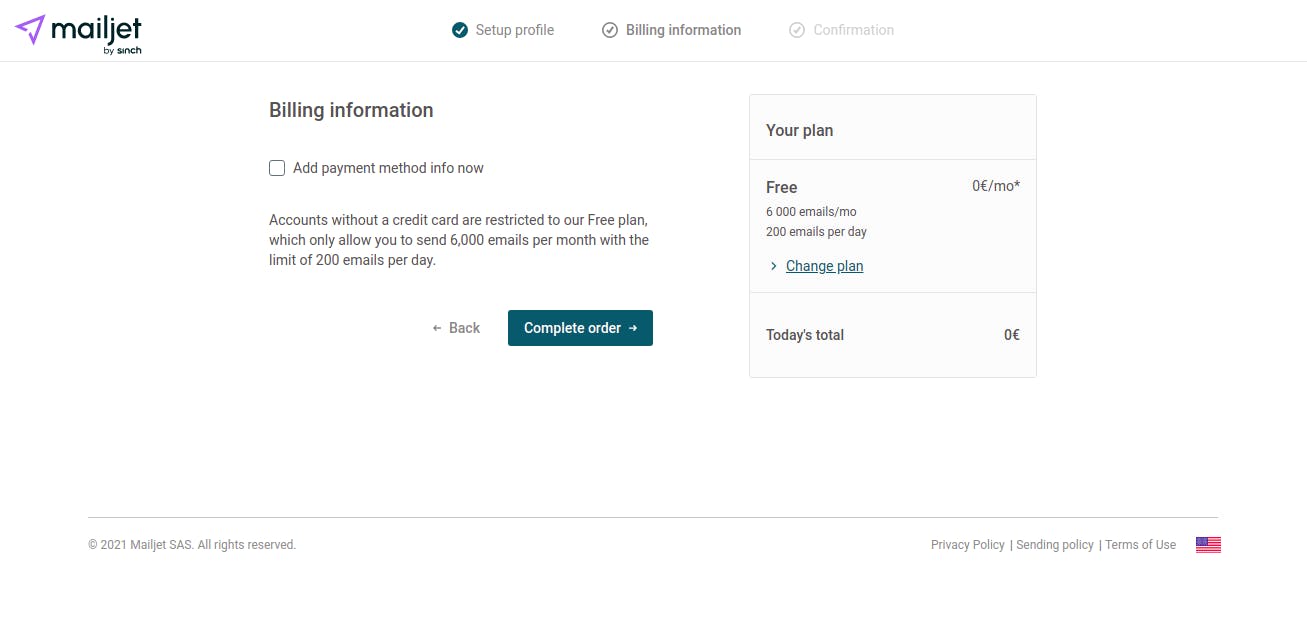
You don't need to add a payment method. Click on Complete order
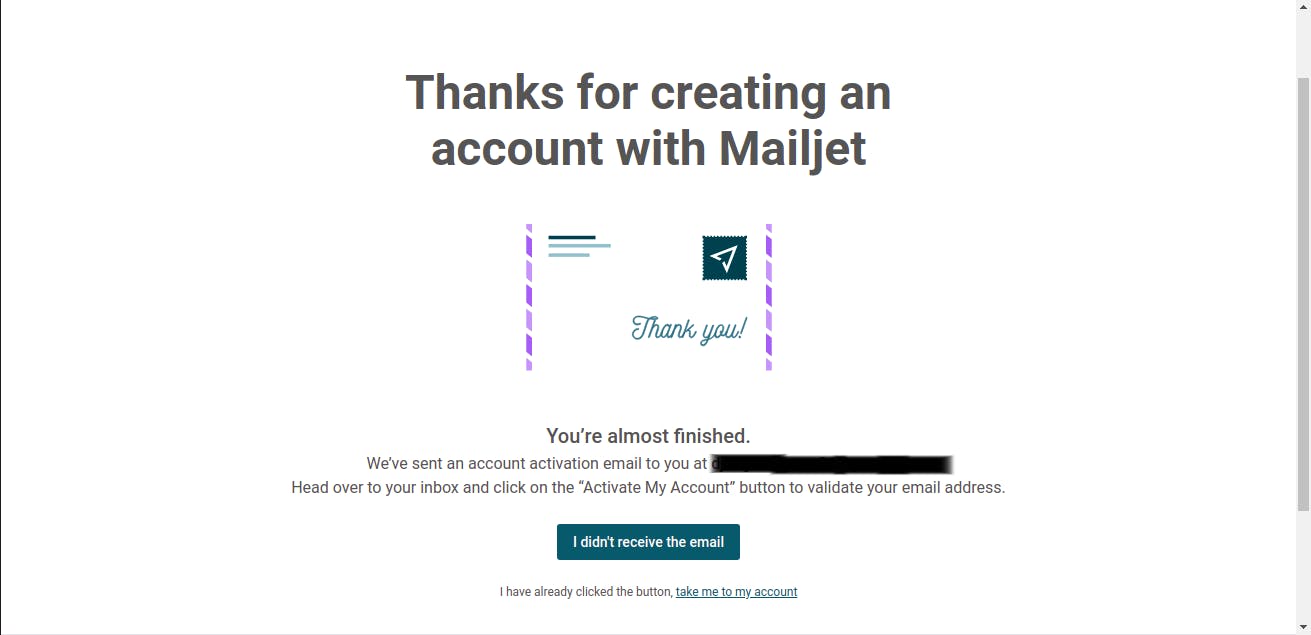
You should get an email from mailjet to activate your account
Creating the SMTP server on mailjet
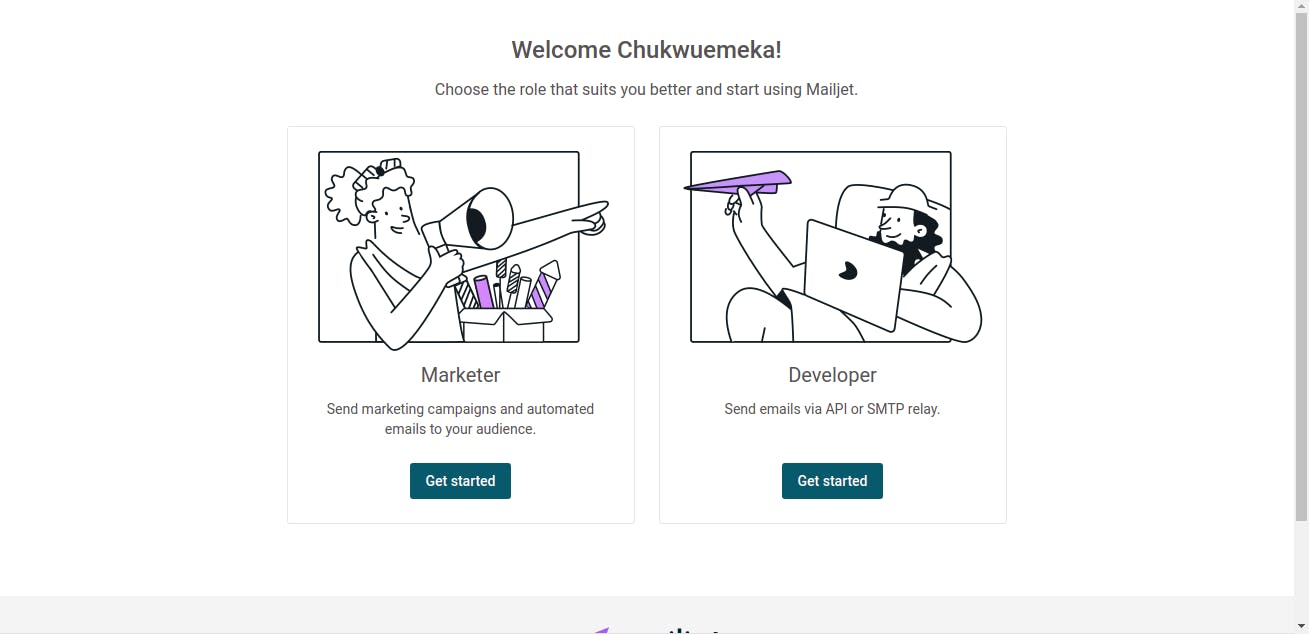
After activating it, you'll be led to this page. Click on getting started as a developer
What we need is a SMTP server so click on SMTP relay and continue
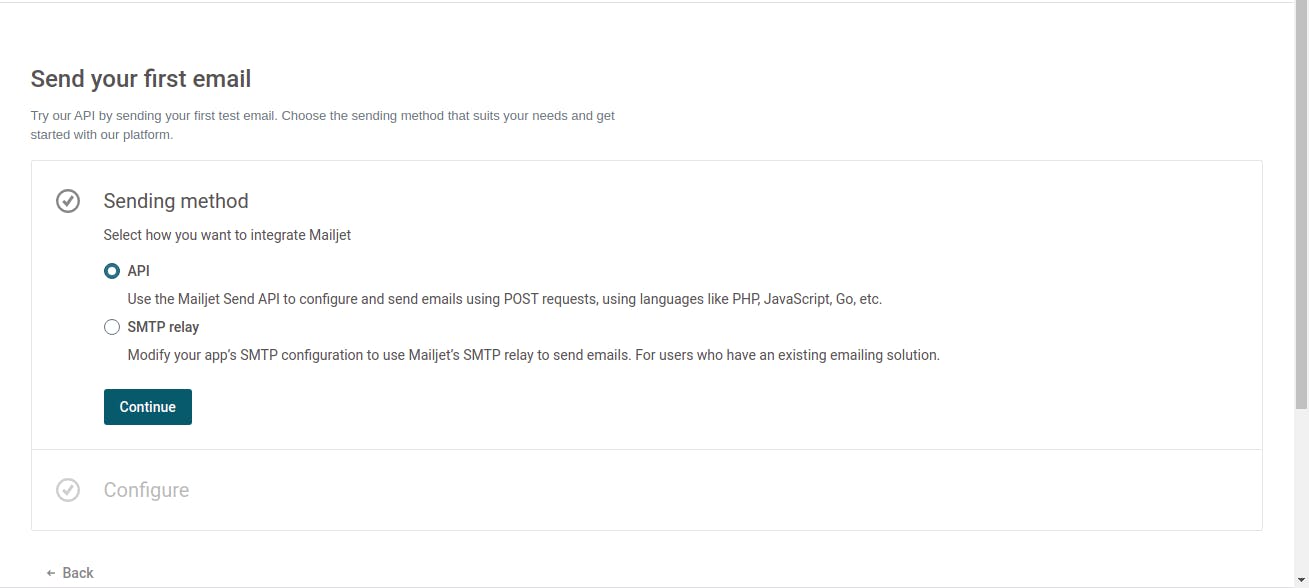
And here it is folks. We have our SMTP server set up and begging to be used!

Installing the django-mailjet package
If we just use the keys provided by Mailjet in our app, we'll run into errors. And that's where django-mailjet comes to the rescue. This package helps us configure our email backend to work seamlessly with Mailjet.
Install the package using
pip install django-mailjet
Connecting it to your django app
Now, the final step. In your settings.py file, add the following settings.
EMAIL_BACKEND = 'django_mailjet.backends.MailjetBackend'
EMAIL_HOST = 'in-v3.mailjet.com'
MAILJET_API_KEY = "your mailjet api key here"
MAILJET_API_SECRET = "your mailjet secret key here"
EMAIL_PORT = 587
EMAIL_USE_TLS = True
EMAIL_USE_SSL = False
EMAIL_TIMEOUT = 30
DEFAULT_FROM_EMAIL = 'sender_name <email_name>'
Where sender_name is a custom sender name and email_name is an email address you want the emails to be sent from. Note that email_name must be registered on your mailjet account.
And we're done! Don't forget to store your API_KEY and API_SECRET with environment variables
Thanks for reading to the end. A like would be appreciated 😊
¡Hasta luego!